Fleets, Buses, Boats & Graphics
Car Wrap Installation: What a Good Install Takes | VanWrap.ca
What car wrap installation involves, from prep and panel work to heat-set edges, and how to spot a rushed install before it fails. VanWrap.ca, Mississauga.
- Service
- Car Wrap Installation: What a Good Install Takes | VanWrap.ca
- Done at
- Our Mississauga shop
- Proof
- Digital proof before print
- Pricing
- By quote, per vehicle
Home / Services / Car Wrap Installation: What a Good Install Takes | VanWrap.ca
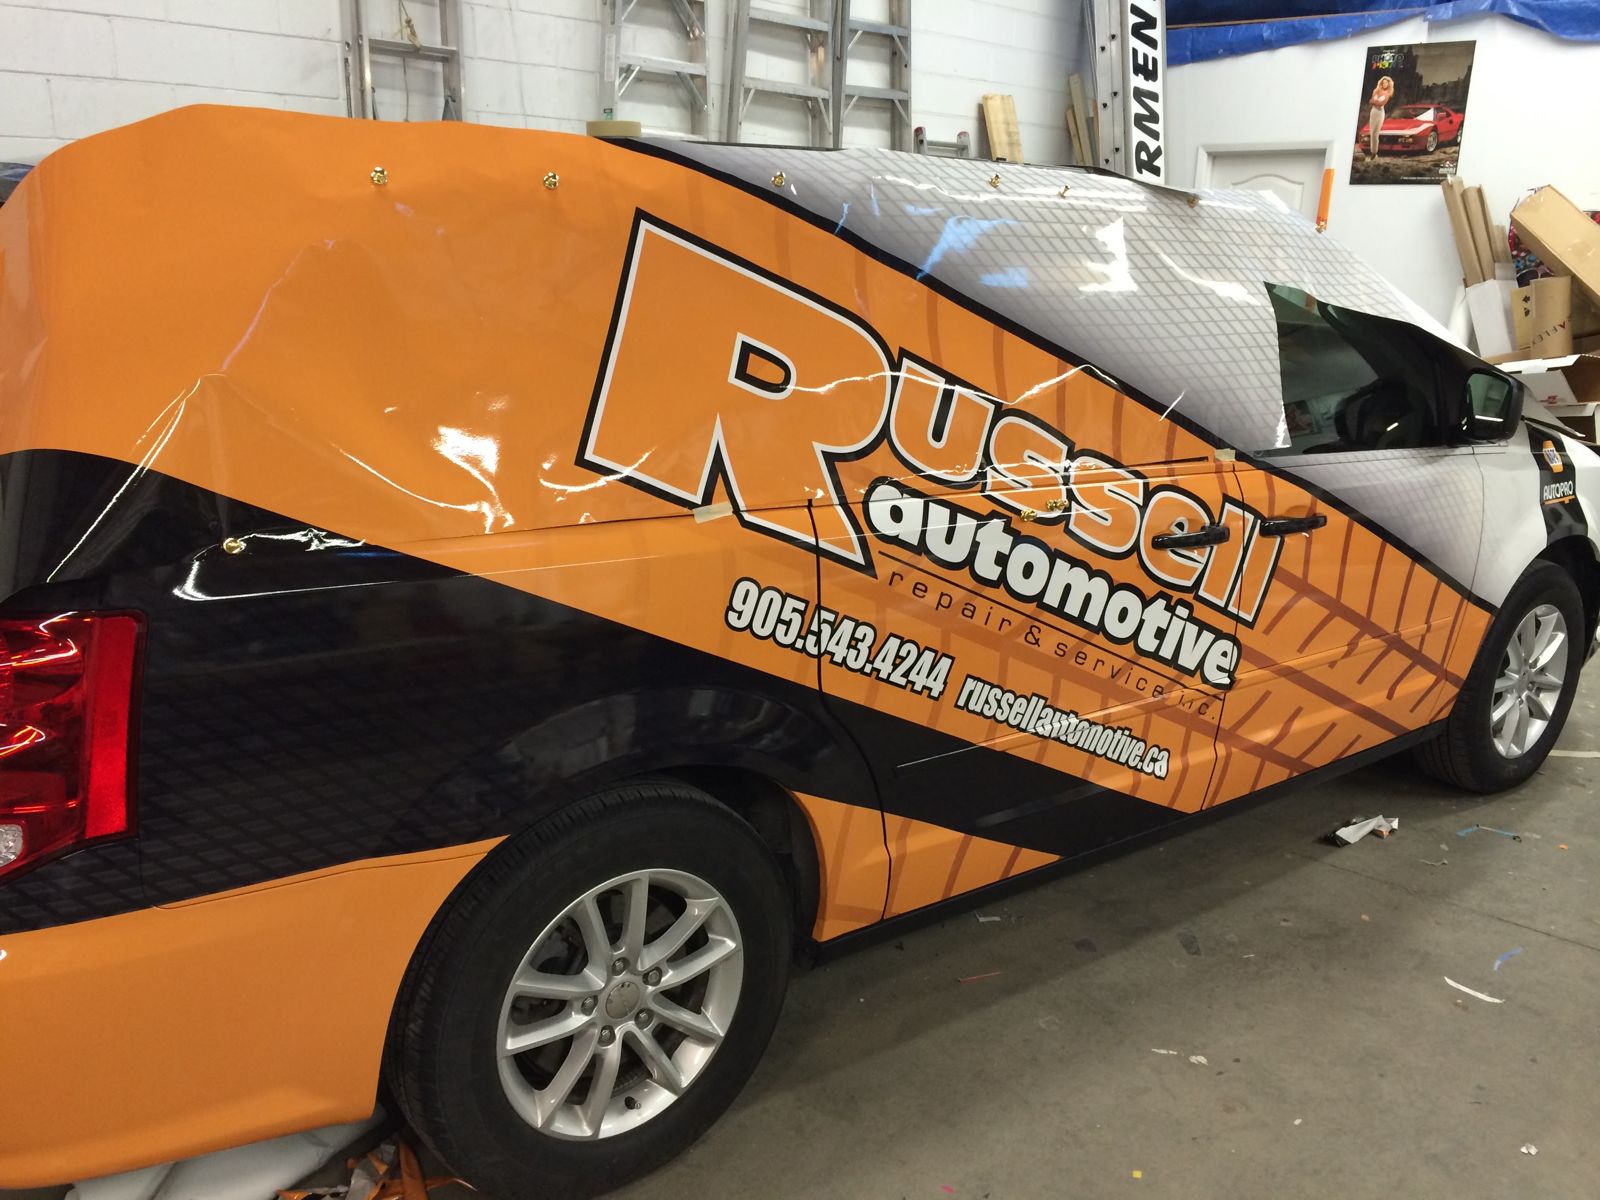
A wrap is only as good as its installation. The print can be perfect and the film top quality, and a rushed install will still ruin both: bubbles along the doors, edges lifting by spring, graphics stretched out of shape on the curves.
Installation is a craft job done by hand, panel by panel, in a clean indoor space. Here is what a proper install actually involves, what separates it from a cheap one, and how the work runs when your vehicle is in our Mississauga shop.
What a proper install involves
- Real preparation. The vehicle is washed, clayed and degreased, and wax, tar and road film come off. Film will not bond properly to a dirty surface, and anything left underneath shows through.
- Trim removed where the job needs it. Badges, handles, mirrors and lights come off so film can wrap around panel edges instead of stopping short of them, then everything is refitted.
- Panels planned in order. Installers work panel by panel, placing seams where body lines hide them and keeping printed graphics aligned across doors and gaps.
- Film worked, not forced. Vinyl is heated and squeegeed into recesses and curves without overstretching. Overstretched film is the kind that pulls back and lifts weeks later.
- Edges finished and heat-set. Edges are tucked or trimmed cleanly and post-heated to set the film's memory, so corners and door edges stay down through winters and washes.
- A final check in good light. Air bubbles, dust specks and tension spots are caught and dealt with before the vehicle leaves, not discovered by the owner in a parking lot.
How it works
- Quote. We look at the vehicle, the coverage and the design, and confirm the booking. Older paint, rust and damage are pointed out now, not after the film is on.
- Design proof. The layout is approved on a template of your vehicle, so installers know exactly where every element belongs before they start.
- Print. Panels are printed, laminated and laid out in install order. Colour change work is cut from solid film.
- Install. Your vehicle is prepped and wrapped indoors by our own installers. Depending on the vehicle and coverage, this is the stage that takes the real time, and it is not rushed.
- Pickup. We walk the vehicle with you, show you the edges and seams, and explain the first washes and what the film needs while it settles.
Questions
How can I spot a poor install? Look at the edges and corners first: lifting, wrinkles and exposed paint lines are the early warnings. Check that text and logos are not stretched out of shape on curves, that seams are hidden along body breaks, and that there are no knife marks in the paint around badges and lights.
Why not install a wrap myself with a kit? Plenty of people try, and the results usually come down to prep and technique: getting large panels down wet-free without bubbles, stretching film evenly, and trimming without scoring paint. A botched install wastes the film as well as the weekend. Lettering and small decals are realistic home jobs; full panels are what shops exist for.
What should I do right after installation? Give the film a few days before its first proper wash, wash by hand rather than with pressure equipment, and keep pressure washers away from edges in general. If an edge lifts or a bubble appears in the first weeks, contact the shop promptly: small issues are quick to correct when they are caught early.
Recent work
Get a price on your vehicle
Send the vehicle details and a couple of photos. We reply with a price and the next steps, no obligation.